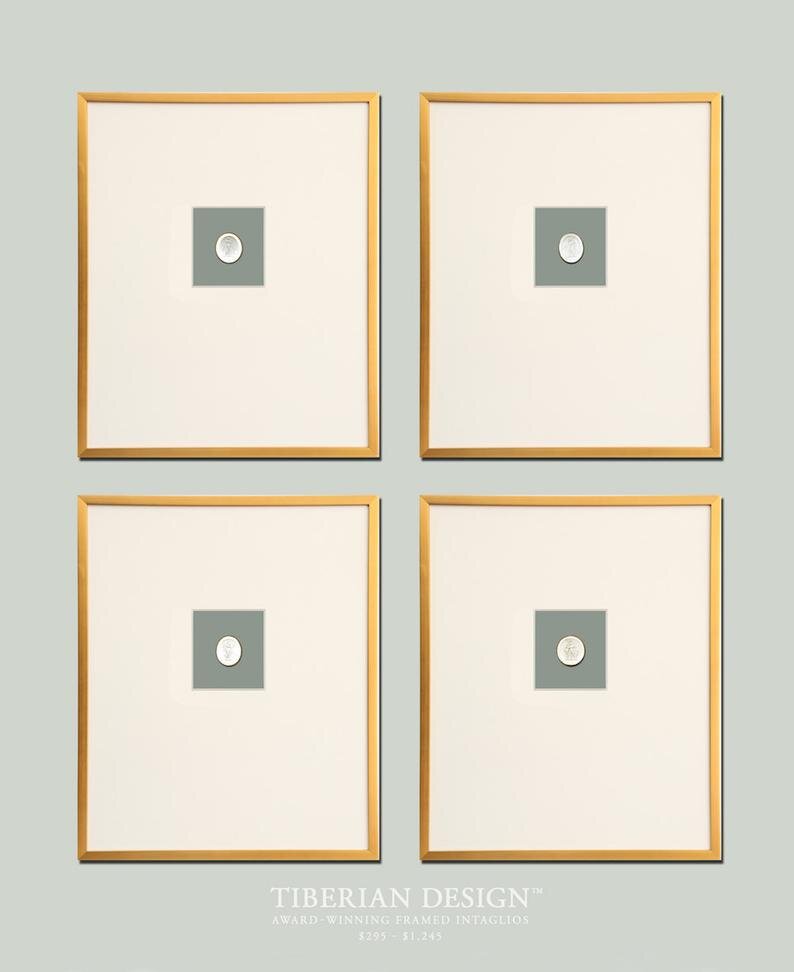
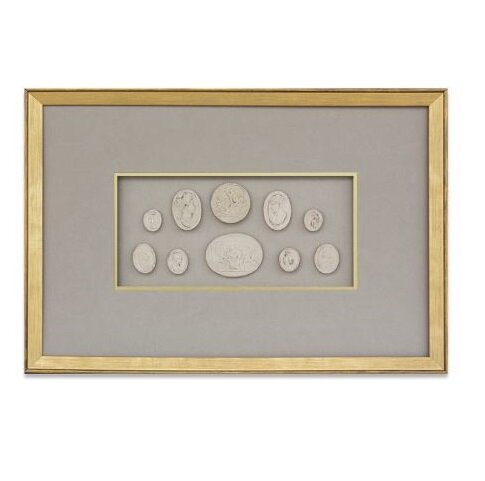
A couple posts ago, I’d shared the idea of framing vintage coins to make custom art. I had a friend ask me how to go about doing that, so I thought I’d share an example here. How to mount & frame objects into art! There’s 4 key steps to it.
Select what you’re framing (this could be coins, vintage objects, botanicals etc - more ideas below)
Select what you’re mounting it on to (board/fabric)
Mount & back it
Frame it (the frame should be deep enough to contain the objects. Use a shadow box or a deep frame)
Here's a step by step with pictures.
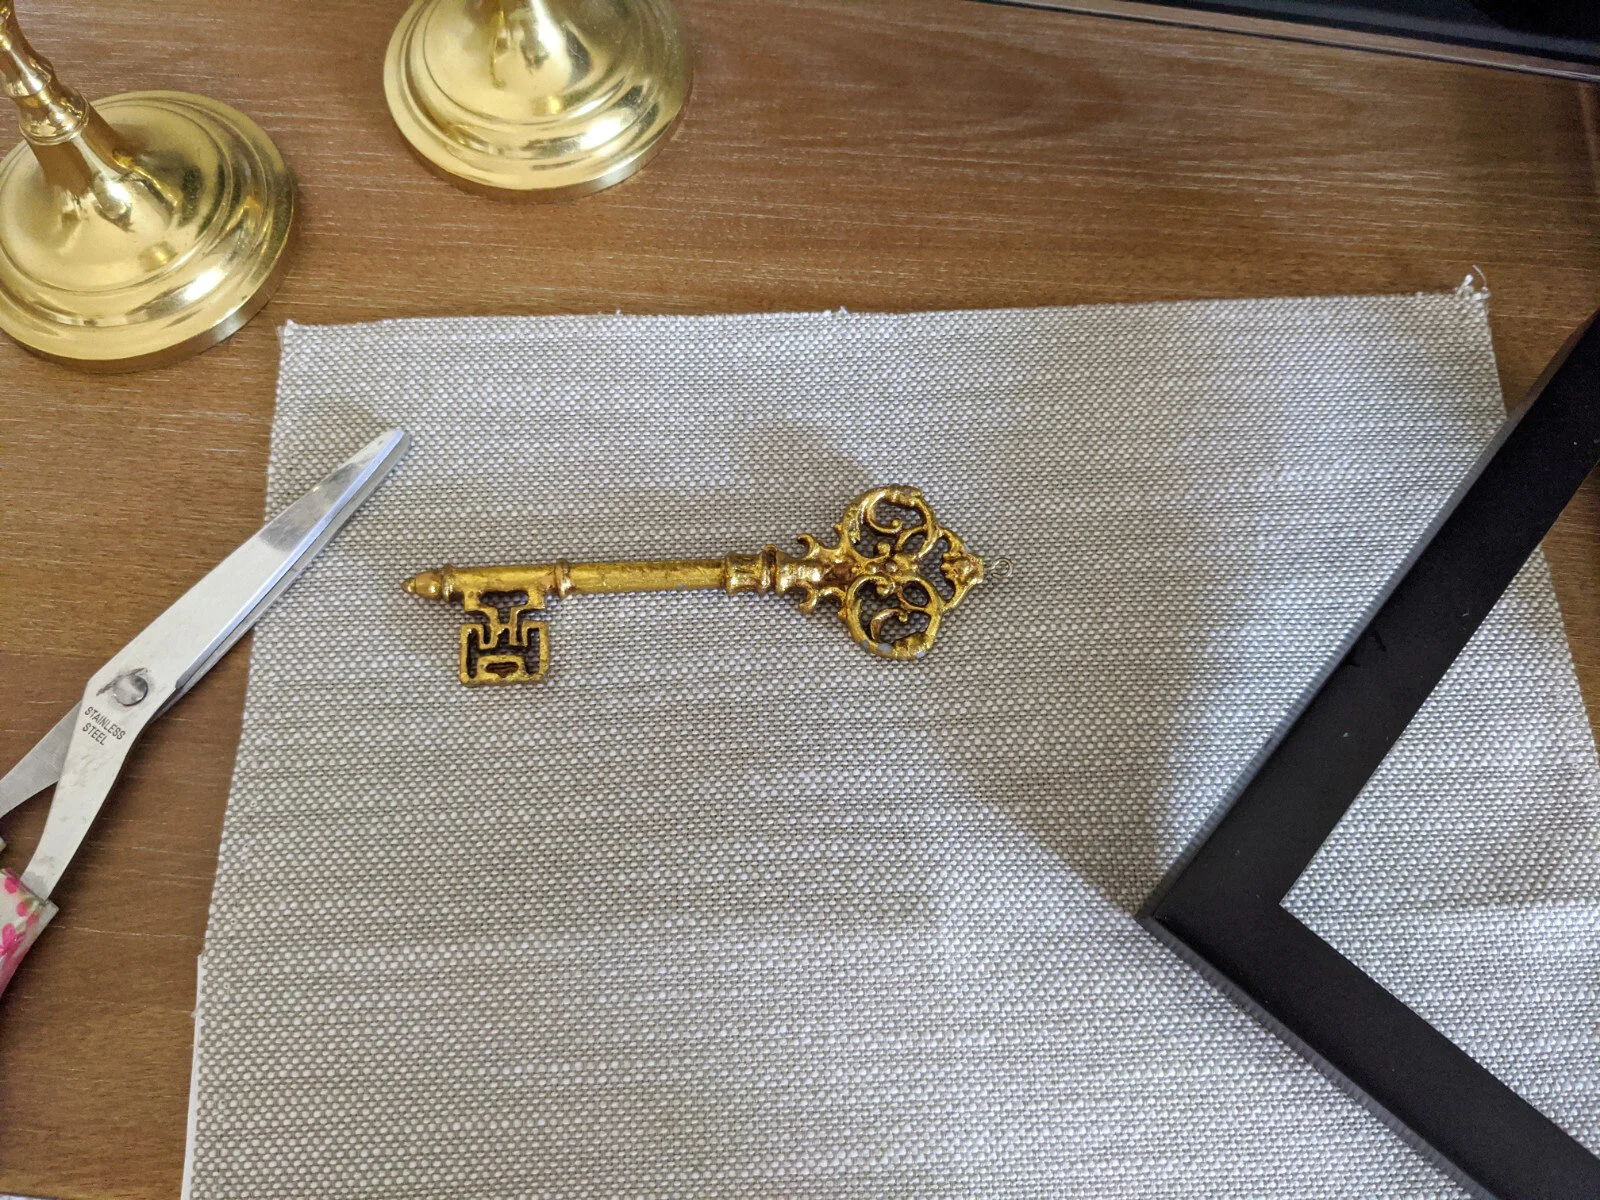
I’d picked up this skeleton key at a vintage shop sometime back. I chose a light grey pebbly fabric to mount it on to. Because the frame was going on a white wall, I wanted the fabric to have some texture (as opposed to a flat white background), hence the grainy fabric. Plus, the key looks pretty on it!
Step 1 - Position your objects (in this case, the key) and cut & size the fabric. Glue it on.